


If you're looking for a self-build campervan wiring diagram that works in the U.K., look no further. This is one of the most typical setups in the U.K. It is suitable for an RV journey of two with a typical need of power consumption of 2kWh per day.

Campervan wiring diagram from Renogy
This diagram can be broken down into three sections: The sources, the DC power, and the AC power.
It is assumed that you understand this diagram and how electrical wiring should be performed. A complete novice should take the appropriate electrical safety and wiring courses first.
Campervan Wiring Diagram - The Sources
Typically, there will be four sources of energy that you can draw upon: Solar power, solar batteries, the camper battery, and shore power.
In this diagram, it's assumed that you've decided to go fully off grid. If that's not the case, you're going to want to add a 16A Shore Power Inlet kit to the mix, or a 20A/16A Shore Power Inlet if you travel throughout Europe.
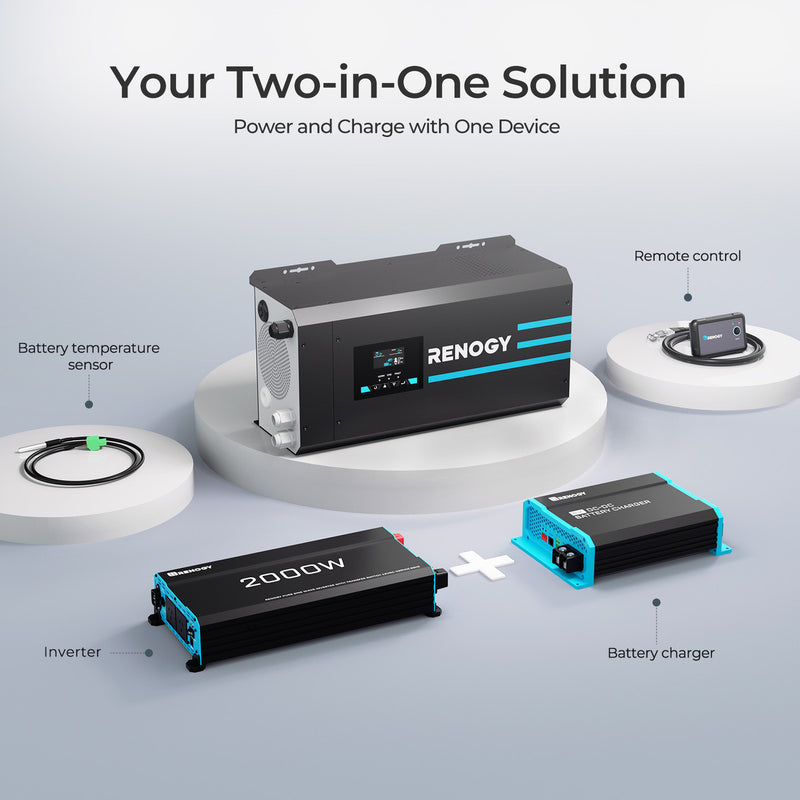
To hook up U.K. shore power, you'll be replacing your inverter with an inverter-charger. The wiring diagram is in the manual. Once you have everything set up, you'll be able to charge the batteries from an AC shore source, and switch seamlessly from solar to shore power as needed.
Fully off grid systems are cheaper, and that's what's been represented in the diagram above. You'll notice that every connection runs through the bus bars and has either a fuse, fuse box, or killswitch on the positive side. This is non-negotiable. The bus bars are how you regulate and mix power flows, and the fuses are what keep you safe.
Campervan Wiring Diagram - The DC Power
The first source of DC power comes from the solar panels and your starter battery. The power flows into your 50 Amp battery charger. Make sure you set the correct battery type by tapping the battery type button until the correct colour is displayed. Then wire as seen above.
The positive output from your 50A DC-DC runs through a 60A fuse, and then to the positive bus bar.
The second source of your DC power comes from your solar battery array. The preferred battery type for a U.K. RV or campervan is lithium. You'll experience plenty of near-full or complete battery discharges, so older battery types (which lose a lot more lifespan after being taken under 50%) aren't that great.
Your smart lithium iron phosphate batteries should be connected in series. That means connecting positive to negative and negative to positive in a chain. The red positive power wire coming from thebattery kill switch should be connected to the negative terminal of the first 12V battery in the chain. The black negative power wire leading back to the negative bar should be attached to the positive terminal of the last battery in the chain.
With an established DC circuit, you can hook up your DC fuse box. The positive and negative connections go directly to the appropriate bus bars. From here, each fuse can be assigned to the appropriate DC function: DC Lighting, DC refrigerator, etc. Consult the individual manuals for these products to determine the appropriate fuses to use.
Finally, your remaining DC power needs to be converted to AC for the rest of your gadgets. The pure sine wave inverter is hooked up to the positive and negative bus bars, as appropriate. Notice the massive 250A fuse on the positive connection. One of the most common sources of RV electric fires is improper safety precautions (lack of fuses, inappropriate fuses, wrong gauge wires, etc.). Make sure you use fuses!
Campervan Wiring Diagram - The AC Power
AC can be tapped from the sockets on your pure sine wave inverter. The rating on your inverter must exceed all possible inputs from variable power sources - that includes your total solar panel output! And the output of all other DC sources must either be regulated and limited accordingly or added to the total power figure that the inverter needs to handle.
With that in mind, you can start hooking up your AC electric devices to the pure sine wave inverter. Remember: No more than one extension cord or power strip per outlet, and all power strips must have fuses!
Use a solar calculator to make sure that your simultaneous power needs don't exceed your limits. It can also be used to estimate how much juice you can draw from the batteries between charges.
There's not a lot to diagram on this end of the setup - just make sure that each device has a working fuse or that it's hooked up to a power strip with a working fuse. PAT (portable appliance testing) standards need to be followed at all times in the U.K.
Monitoring battery status/charging and solar panel output
In the wiring diagram above, the two Bluetooth modules are for monitoring battery status/charging and solar panel output respectively.
A battery status app like Renogy's DC Home App can help you to 'budget' your power consumption, particularly during periods where fuel and sunlight might be scarce.

The app can help you to optimise your solar panel positioning, parking spot selection, and estimate how much power you have to play with during certain times of the year. During the summer, peak sun hours in the U.K. range between 3 and 5. During the winter, it's closer to 2 or 3 in most locations.
The battery killswitch is an important feature to understand. It can completely cut off the battery from the positive bus bar. That means nothing will be able to charge the solar batteries, and the batteries won't be able to contribute to your power needs. But if anything goes wrong from overheating, to unexpected surges, to physical battery damage, the killswitch is there for your safety and the protection of other components in your campervan electrical system.
There are other options available from Renogy UK if you prefer rigid solar panels. A series of 200W rigid panels can give you more bang for the buck as far as your campervan's roof space is limited. But they're heavier, and their rigidity can translate to fragility in some situations. Still, if you're trying to produce the maximum amount of solar power at any cost, rigid panels are a consideration.


