
Tips for installing solar on a van————What to consider when van life goes solar
More and more people are adopting van life as a way to experience independence on the open road, work remotely, save money that would’ve been spent on rent or a mortgage, and explore new places. But how do you stay comfortable on the road with lights, heating, or refrigeration? For many van-dwellers, solar panels are the perfect solution. It’s easy to see why. There are a variety of lightweight, easy to use solar panel systems that will greatly increase the quality of life in your van. What should you know before you start drilling into the roof of your van?
What are the benefits to adding solar to your van?
Solar and van life are a match made in heaven. Solar is reliable, cost-effective, portable, sustainable, quiet, and virtually maintenance-free. Solar panels on your van can recharge your batteries, allowing you to run AC appliances while on the road without needing to hook up to external power sources. Having a solar installation can also expand your camping options. Solar panels on a van means you can head into more remote areas without worrying about being left in the dark .Plus, solar panels can work all day long, whether you’re home or not, meaning you could be out for a hike and charging up your batteries in time for movie night in the van
What do I need to buy for a solar van installation?
- Solar panels: When shopping for solar panels, you’ll have to choose between two main types: monocrystalline and polycrystalline. Monocrystalline panels are the most efficient and advanced solar panels, but they are also more expensive. Polycrystalline panels are cheaper, but they are less efficient. We typically recommend monocrystalline panels because they’ll make the most of the limited space you have.
- Charge Controllers: Charge controllers sit between the energy source (solar panels) and storage (battery bank). They prevent overcharging of batteries by limiting the amount and rate of charge to your batteries and also prevent battery drainage by shutting down the system if stored power falls below 50 percent capacity. This helps preserve the life and health of the batteries.There are two main types: pulse width modulation charge controllers and maximum power point tracking charge controllers.
Maximum Power Point Tracking charge controllers are the best option if efficiency is your highest priority. With MPPT controllers, the current is drawn out of the panel at the maximum power voltage, but they also limit their output to ensure batteries don’t get overcharged.
Pulse Width Modulation charge controllers have been around longer and are simpler and less expensive than MPPT controllers. PWM controllers regulate the flow of energy to the battery by reducing the current gradually, called pulse width modulation.
- Battery storage: You’ll need a way to store all the power you’re generating with your solar panels. There are a variety of battery options to choose from, ranging in price from $100 to more than $1200. Lead acid batteries are the most inexpensive option and are available at most big-box and auto stores. Absorbed glass matt batteries store 10 to 15 percent more energy than lead acid batteries and charge up to four times faster. Lithium ion batteries are the most expensive option, but also last four times longer than lead-acid batteries and weigh much less. We typically recommend lithium iron phosphate batteries for van set-ups because they are the most energy and space efficient.
- Inverters: Inverters turn DC power produced from your solar panels and stored in your battery into AC power. An inverter is necessary to power the common appliances found in your RV or van, from laptops to microwaves. Inverters range from $150 to more than $350.
- Mounting Hardware and Wiring: How do you get everything connected? Wiring your system can be one of the most scary components to worry about, but Renogy makes it easy to put your system together. Renogy has a range of weatherproof wires, adaptor cables, tilt mounts, and other accessories to get your system up and running.
Roof-mounted vs. flexible vs. folding solar panels?
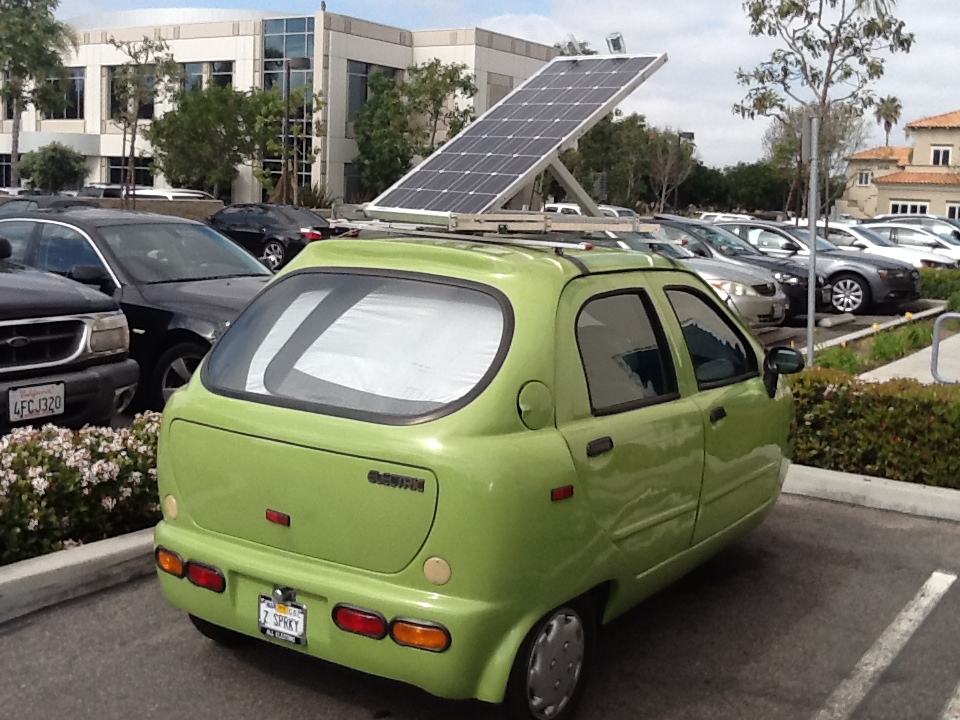
When shopping for panels, you’ll also see there are rigid, flexible, and folding panel options. Rigid, roof-mounted panels are the most common solar panel choice on the market. The main benefits of rigid solar panels is that they are durable and can be mounted at any angle. This increases their overall energy production efficiency.
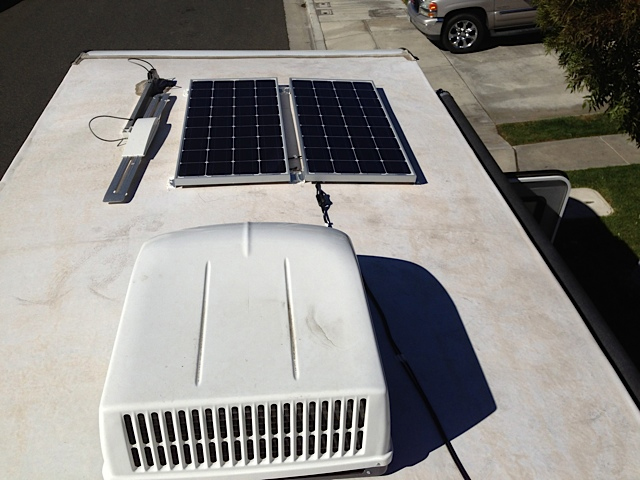
If you’re looking for a way to discreetly mount your panels on the roof of your van or need to install panels to a curved surface, you might want to consider flexible panels.Flexible solar panels weigh less than the rigid solar panels and can be installed directly on the roof of your RV, in contrast to rigid solar panels which stick up above your roof somewhat and can be trickier to place between other components on your roof.
Portable solar panels which you can place out on the ground when you want to collect energy are also a popular option. Folding solar suitcase panels are ideal for those looking for a portable solution or who aren’t ready to drill holes into the roof of their van. Keep in mind if you have steady energy needs and want to be able to charge your panels even when you’re not around, you should consider rigid, roof-mounted panels.
How many solar panels do I need?
To decide how many panels you need for your van, we recommend using the Renogy solar panel calculator to help determine your specific needs. The Renogy calculator allows you to input information about your lifestyle to help you decide on your solar panel requirements. You’ll just need to know what total watts your electronics will consume, how long you plan on running the devices, your charge controller efficiency, and average sun hours per day. The solar panel calculator will then be able to tell you the minimum and recommended system size, as well as the recommended battery output.
How much does a van solar installation cost?
Cost for your solar installation can vary greatly based on your system size and technology. Complete van solar systems can range from around £350 for the simplest set-up to upwards of £1,500 for larger installations. Adding additional panels and batteries will also increase the cost.
How do you set up a solar system for a van?
Once you’ve sized your system and selected your components, now it’s time for the actual installation. We have a few recommendations that will help make it go smoother and safer:
- Visually examine and Test all your components before you mount the components on your van.
- Mark the location of your solar panels and mounting points to avoid having to measure again. Measure twice (even three times) and drill once.
- You probably need less power than you think. Don’t forget to use the solar panel calculator for an accurate estimate of your energy needs. There may also be areas where you can cut down energy use, such as using a cooler vs. a refrigerator.
- If your solar panels are connected to the charge controller, and the charge controller isn’t connected to the batteries to move the current, you could blow up the charge controller. Make sure everything is connected!
- Ask for help! Having a buddy to assist you when you’re handling large solar panels makes a huge difference and keeps you from potentially hurting yourself.
- Not ready to take the full solar plunge? Consider trying portable panels that don’t require you to drill holes into the roof of your van.
Conclusion
Van life is a great way to adopt a simpler lifestyle, see a multitude of different places, and save money. However, just because you’re living a minimalist life doesn’t mean it has to be uncomfortable. Solar panels can go a long way into improving your day-to-day life in the van, from expanding your camping options to making sure you can watch your favorite movie after a long day of hiking, adventuring, or driving.


